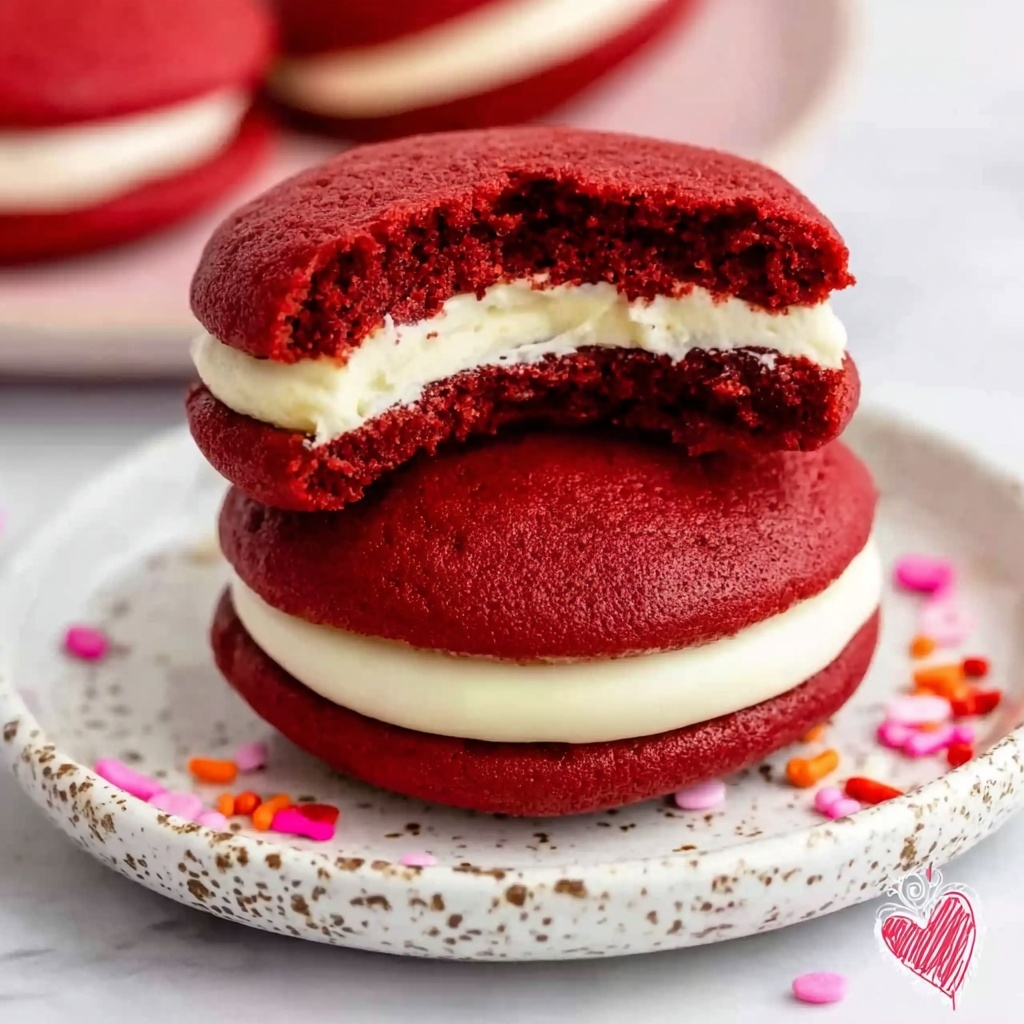
If you’re on the hunt for a truly delightful treat that combines vibrant color with luscious flavor, this Red Velvet Whoopie Pies Recipe is an absolute must-try. Imagine soft, cakey red velvet rounds sandwiching a velvety cream cheese filling that melts in your mouth with every bite. Perfectly balanced between rich cocoa undertones and that iconic red velvet tang, these whoopie pies are as fun to make as they are to eat. Whether for a festive occasion or a cozy afternoon pick-me-up, this recipe brings joy, warmth, and a splash of beauty to your dessert table.
Ingredients You’ll Need
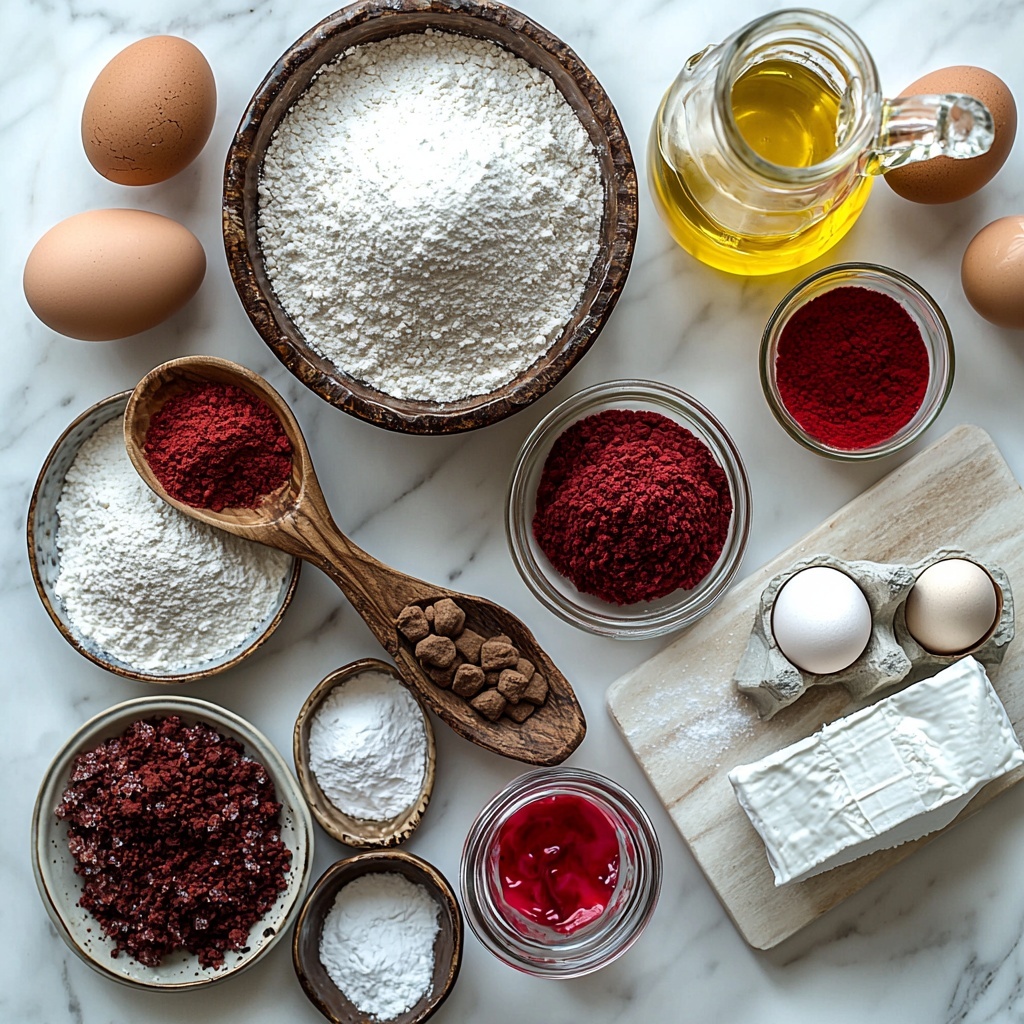
The success of this Red Velvet Whoopie Pies Recipe relies on a handful of simple yet essential ingredients. Each one plays a crucial role: from building the moist, soft texture to creating that signature deep red color and just the right hint of chocolate flavor.
- All-purpose flour: The base that gives structure and lightness to the cake rounds.
- Cocoa powder: Adds the subtle chocolate notes that make the red velvet unique.
- Granulated sugar: Sweetens the batter evenly while helping with texture.
- Baking soda and baking powder: Leavening agents that keep the whoopie pies tender and fluffy.
- Salt: Enhances all the flavors and balances the sweetness.
- Vegetable oil: Keeps the cakes moist and tender without heaviness.
- Buttermilk: Adds tanginess and reacts with the baking soda for that perfect rise.
- Eggs: Bind everything together and lend richness.
- Red food coloring: The star ingredient giving those whoopie pies their iconic bright red hue.
- Cream cheese: The heart of the filling, providing the creamy, slightly tangy contrast.
- Powdered sugar: Sweetens and thickens the filling to the perfect consistency.
How to Make Red Velvet Whoopie Pies Recipe
Step 1: Prepare Your Oven and Baking Sheets
First things first, preheat your oven to 350°F (175°C). Line your baking sheets with parchment paper to prevent sticking and to ensure even baking. This prep work saves you a headache later and keeps the cakes perfectly intact.
Step 2: Mix Dry Ingredients
Whisk together 2 cups of all-purpose flour, ½ cup cocoa powder, 1 teaspoon baking soda, 1 teaspoon baking powder, and ¼ teaspoon salt in a large bowl. This blend of dry ingredients creates the foundation for those fluffiest, richest whoopie pies.
Step 3: Combine Wet Ingredients
In a separate bowl, mix 1 cup granulated sugar and ¾ cup vegetable oil until fully combined. Then add 2 large eggs one at a time, making sure each is well incorporated before the next. Stir in 1 cup buttermilk and 2 tablespoons red food coloring. This mixture brings moisture, tenderness, and that enviable red glow.
Step 4: Bring It All Together
Gradually fold the dry ingredients into the wet mixture, stirring just until combined. Over-mixing can toughen your cakes, so be gentle to keep that tender crumb intact.
Step 5: Portion the Batter
Drop rounded tablespoons of batter onto your prepared baking sheets, making sure to space them about 2 inches apart. This spacing allows each cake to spread perfectly without merging with its neighbor.
Step 6: Bake and Cool
Bake in your preheated oven for 10 to 12 minutes, or until the tops spring back when gently pressed. Let the cakes cool completely on a wire rack before proceeding to fill them. Cooling is key to prevent the filling from melting and losing its silky texture.
Step 7: Prepare the Cream Cheese Filling
While the cakes cool, whip 8 ounces of softened cream cheese together with 2 cups powdered sugar until smooth and fluffy. This luscious filling is what makes these whoopie pies truly irresistible.
Step 8: Assemble the Whoopie Pies
Spread a generous dollop of cream cheese filling on the flat side of one red velvet cake, then sandwich it with another. Repeat until all cakes are paired up for a dozen delightful whoopie pies.
How to Serve Red Velvet Whoopie Pies Recipe
Garnishes
For an extra special touch, sprinkle some powdered sugar on top or dust with a little cocoa powder. Fresh berries or edible flowers can also add a pop of color and elegance that make your Red Velvet Whoopie Pies Recipe presentation truly shine.
Side Dishes
Pair these whoopie pies with a cold glass of milk, a steaming cup of coffee, or herbal tea. Their creamy filling and moist cake balance beautifully with simple, comforting beverages that enhance every bite.
Creative Ways to Present
Try stacking the whoopie pies on a tiered dessert tray for parties, or wrap individual pies in parchment with twine as charming homemade gifts. You could even serve mini versions with colorful sprinkles pressed into the cream cheese for a whimsical twist.
Make Ahead and Storage
Storing Leftovers
Leftover Red Velvet Whoopie Pies keep wonderfully in an airtight container in the refrigerator for up to 3 days. Keeping them chilled preserves the cream cheese filling’s freshness and the cake’s tender texture.
Freezing
You can freeze assembled whoopie pies by wrapping each individually in plastic wrap, then placing them in a freezer-safe bag or container. They’ll keep well for up to 1 month, perfect for prepping ahead for special occasions.
Reheating
To enjoy frozen whoopie pies, thaw them overnight in the refrigerator. If desired, bring to room temperature before serving or enjoy chilled for a refreshing, creamy treat.
FAQs
Can I use regular milk instead of buttermilk?
While regular milk can be used in a pinch, buttermilk is recommended because its acidity reacts with baking soda to create a lighter, fluffier cake with that classic tangy flavor essential to Red Velvet Whoopie Pies Recipe.
What if I don’t have red food coloring?
The red food coloring is what gives these whoopie pies their signature hue. Without it, you’ll have a more muted chocolate cake, but the flavor will still be delicious. Beet juice can be a natural substitute though it may alter the taste slightly.
Is there a way to make the filling dairy-free?
Absolutely! You can swap the cream cheese for a dairy-free version or softened coconut cream. Mix with powdered sugar as usual for a similar texture and sweetness that fits a dairy-free diet.
How big should the whoopie pies be?
Using rounded tablespoons for each cake yields perfectly sized whoopie pies that are easy to handle and eat. You can adjust size depending on preference, but keep baking time in mind if making them larger or smaller.
Can I make these without cocoa powder for plain red velvet?
The cocoa powder adds depth and slight chocolate flavor. If you want a milder taste, reduce it rather than remove it completely. Traditional red velvet always has a touch of cocoa to create that iconic flavor and color contrast.
Final Thoughts
There’s nothing quite as delightful as the homemade magic of this Red Velvet Whoopie Pies Recipe—every bite bursts with flavor, texture, and fun. Once you try this recipe, you’ll understand why these charming little cakes have such a devoted following. I truly encourage you to bake a batch soon and share the joy with friends and family. Happy baking!
Print
Red Velvet Whoopie Pies Recipe
- Prep Time: 15 minutes
- Cook Time: 12 minutes
- Total Time: 32 minutes
- Yield: 12 servings
- Category: Dessert
- Method: Baking
- Cuisine: American
Description
Delight in these classic Red Velvet Whoopie Pies featuring soft, cocoa-infused red velvet cakes sandwiched with a smooth and tangy cream cheese filling. Perfectly portioned for sharing, these treats combine the nostalgic charm of whoopie pies with the signature flavors of red velvet cake.
Ingredients
Cake Batter
- 2 cups all-purpose flour
- 1/2 cup cocoa powder
- 1 cup granulated sugar
- 1 tsp baking soda
- 1 tsp baking powder
- 1/4 tsp salt
- 3/4 cup vegetable oil
- 1 cup buttermilk
- 2 large eggs
- 2 tbsp red food coloring
Cream Cheese Filling
- 8 oz cream cheese, softened
- 2 cups powdered sugar
Instructions
- Preheat Oven and Prepare Baking Sheets: Begin by heating your oven to 350°F (175°C). Line baking sheets with parchment paper to prevent the whoopie pies from sticking.
- Mix Dry Ingredients: In a medium bowl, whisk together the all-purpose flour, cocoa powder, baking soda, baking powder, and salt until evenly combined.
- Combine Wet Ingredients: In another large bowl, mix the granulated sugar and vegetable oil thoroughly. Add eggs one at a time, beating well after each addition. Then stir in the buttermilk and red food coloring until the mixture is smooth and evenly colored.
- Incorporate Dry Ingredients: Gradually add the dry ingredient mixture to the wet ingredients. Stir gently until just combined to avoid overmixing, which can make the cakes tough.
- Portion Batter and Bake: Drop rounded tablespoons of batter onto the prepared baking sheets, spacing them about two inches apart to allow room for spreading. Bake the cakes for 10-12 minutes or until they spring back when lightly touched.
- Cool the Cakes: Remove the baking sheets from the oven and let the cakes cool completely on a wire rack. This step is crucial so the filling doesn’t melt when applied.
- Prepare the Cream Cheese Filling: In a mixing bowl, beat the softened cream cheese with powdered sugar until the mixture is smooth and creamy.
- Assemble Whoopie Pies: Once the cakes have cooled, spread or pipe the cream cheese filling onto the flat side of one cake and sandwich with another. Repeat until all cakes are filled.
Notes
- Make sure the cream cheese is at room temperature before mixing to achieve a smooth filling.
- Space the batter adequately on the baking sheet to prevent the cakes from spreading into each other.
- Store assembled whoopie pies in the refrigerator to keep the filling fresh.
- For a less sweet filling, reduce powdered sugar by 1/4 cup.
- If you don’t have buttermilk, you can substitute with 1 cup milk plus 1 tablespoon vinegar or lemon juice, let it sit for 5 minutes.


